Saturday, 18 June 2016

Breakthrough; A Horizon Wars AAR

This particular game was a little experiment to see if I could run Horizon Wars somewhat like the battles in Votoms.

By making all the mechs P1 with a single point of armour I hoped to recreate the fast-paced destruction of the aforementioned show.

As promised on TWW, I'll try to talk a little about the mechanics and workings of Horizon Wars during the battle.
First we have the creation of the mechs taking part in this battle:

Unlike conventional elements in HW, Mechs (and aircraft) are built from a pool of points. A P1 mech have 11 points to allocate, a P2 gets 14 points and a heavy P3 mech have 17 points to construct it self with.

The stats in HW are Movement (how far you can move in inches), Firepower (how many dice you get to roll when you attack), Armour/Agility (a combined hp and armour, when this hits 0 you're dead) and Defence(allows you to cancel some hits when fired upon).

So the stats for this engagement:

The NIJA SADU

Turtle Mecha


P1

M F A D
Standard 3 5 1 2
Current


Rules


Damage


Beetle Mecha A


P1

M F A D
Standard 4 4 1 2
Current


Rules


Damage


The Imperials have 6 turtle mechs and 1 beetle as CHQ. The CHQ is the commander in the field, costs no points for your force and can give commands and guide indirect fire from other elements. Having a commander also allows you to spend points to upgrade conventional elements in your force if you have any.

And then we have the NTC

Warrior Mecha


P1

M F A D
Standard 4 4 1 2
Current


Rules


Damage


Bz Warrior Mecha


P1

M F A D
Standard 3 5 1 2
Current


Rules


Damage


They come with 5 standard Warriors (of which one is CHQ) and 2 of the Bazooka Warrior variant.
As you can see, the stats for all the units have been kept fairly similar, as there are only so many ways to stretch the 11 points you have. You have to have at least 1 point in every stat, but the remainder can be placed as you prefer. While you could technically make a superfast or extremely armored mech, you run the risk of crippling yourself in some other aspect, so I elected to keep the forces very similar, also because it fits the source material.

Now onto the game: 


The NTC patrol needed to get back to base after a recon mission deep behind the NIJA lines, but close to the border their scanners picked up massive magnetic reading. This could only mean one thing, a SADU force blocking their way.

On the horizon the NTC patrol spots the blockading force. They need to break through the lines and get back to their base. The SADU meanwhile, needs to stop them.
I'm mostly playing narrative scenarios of my own making, but for those of you who like playing pick-up games or just want official scenarios, there are a bunch of them along with a special type of scenario called an adventure, for which the circumstances of the battle are generaded with a few dice rolls on some tables included in the rulebook. 

The NTC patrol, the CHQ is the mech with the brown base.

The Imperial SADU blockade, the Beetle CHQ mech can be seen to the far left.

HW has an alternating activation system, you roll a d12 each at the start of the turn, highest roll wins. You then get to activate a element of your choice. Each element has 2 actions and you can take the same action twice if you like.
In the opening turn, most of the mechs just chose to move. Then you make a movement action, you can move cautiously up to your M value, allowing the model to stay alert to his surroundings and maintain 360 degree vision. This can be important for reactions to enemy moves.
You can also move at patrol speed, which is 2xM. You only have 180 degree vision this way, but you can combine this action into something called move and fire, allowing you to move up to 2xM and then fire with half your F dice.
The last option is to move rapidly, allowing you to speed up to 3xM, but you can't fire or react to enemy moves.

A longshot by a NTC bazooka damages the movement of the SADU Turtle.

 It doesn't take long before the SADU respond in kind, firing on one Warrior mech that sped into the open. If a model activates but doesn't spend both it's actions, it can keep the second action to use as a reaction instead. In this case, as the NTC mech speeds into the open, one of the lurking Turtles choose to take a fire action when the enemy pops into view.
 As long as you can see the model at any time during its first action (and only the first action!) you can choose to react by either moving, moving and shooting or just shooting. It's important to know, however, that you are not required to direct your action against the acting model.
 You might find it more advatageous to take a shot at a damaged companion before he can be supported by the new arrival for example. All reactions take place after the acting element finishes it's first action, but before the second is taken, so the reacting element has to wait until the action is finished.
 When you shoot, you roll a number of d12 according to your Firepower stat (5 in this case) and the number you are looking to beat is the distance between the units+their A value+cover(if applicable)
This number can be higher than 12, since you roll your dice and then group them into hits. For example, in this case the reacting Turtle rolled 3,12,7,8 and a 9. The distance was 14" and the armour of the target is 1, so the number to beat is 15. Before we get to start making hits though, the NTC mech rolls his defence roll. Having a Defence value of 2, he rolls 2 d12, getting a 9 and a 5. The 5 does nothing as his enemy didn't roll any 5s, but the 9 cancels out the other, leaving the SADU mech with a 3,12,7 and an 8. The 3 and 12 can form one group, while the 7 and 8 forms another, making it two hits. This means that the target takes 2 points of damage. Normally the controlling player chooses what stats to degrade, but since one hit group contained a 12, that hit is a critical hit. This means that the attacking player gets to choose which stat to downgrade with that hit. Since the mech is only A1, that means it's destroyed, as reaching A0 destroys the unit. First blood to the SADU! 

It doesn't take long before another barrage of rockets from another Turtle mech blows a second Warrior to bits, when he takes a critical hit. Ouch!

The start of the 2nd turn, when it really heats up.

Looking to avenge the fallen, a bazooka Warrior moves and shoots at one of the Turles. Moving and shooting only gives you half your F stat rounded up, so 2 dice in this case. But as he rolls a 12 that the Imperial fails to block, the Turtle blasts apart into a hunk of scrap.

Since he finished his first action, the SADU mechs that have LOS are now allowed to react before he takes the second move. At this close range, even 2 or 3 dice can do a lot of damage. Yet another turtle speeds up, shooting as he goes. another roll with a undefended 12, and the bazooka Warrior never gets to take that second action.

A second Turtle joins the first, shooting at the advancing NTC patrol. He misses, and retribution is swift. Both NTC mechs that are close by open up on a mech each, scoring several hits, damaging movement and firepower on both.. 

..But the joy is short-lived as the Turtles second action sees some amazing shooting, at point blank range. Rolling 3 12s, of which none is canceld, the destruction is total for the poor NTC Warrior.

Trading blows, the last bazooka Warrior gives a good accounting of himself..

..But another Turtle soon flanks him and scrap his machine.

Trying to make it out, a Warrior makes a break for it. The SADU CHQ gives chase and manages to damage the Warriors weapons in a fierce shootout. The NTC leader makes a repair roll with his final action, hoping to speed around the slower Turtle mechs. A recover action is used to repair some damage caused earlier. You roll 1 d12 for each point of defence, against a threshold of the total damage sustained. For each dice beating this threshold, you can repair one damage to Movement,Firepower or Armour/Agility.

Start of the 3rd turn. The NTC defeat is clear for all to see, with only 2 units remaining. But they must press on, they need to reach their base!

In a crazy gunfight, the Warrior is first wounded, manages to roll a crit when reacting but the Turtle cancels it by rolling a 12 on his defence! The second actions 5 firepower dice finishes what the first attack started, and the NTC patrol leader falls.

Gunning his engines, the last NTC mech manages to make it off the board! He is off to the base, but his entire unit is a smoking wreck.

A glorious Imperial victory, much needed morale boost for the SADU, who had up to this point failed to beat their NTC opponents a single time.

So the results of this little experiment?
It's not easy to say. While the results might have been skewed by the fact that the SADU rolled no less than 10! 12s during the game while their NTC counterparts rolled an less than impressive 3. In all the other games of HW and MechaWar I've played, I usually ended up with 3-4 crit rolls per game, both sides included! So I might need further testing, but it feels like luck could come to play to great a part when using A1 mechs. I've looked at both P1 A2 mechs and the possibility of just making all the mechs in these games P2, boosting A,M and D one point each in these cases, but I'm still unsure which is the best way to go about it.

While I won't ever mix my CAV mechs and these GZG ones, putting the grunts in P2 mechs does remove some from your available choices when I start adding in the prototype units used in other games between NTC and SADU.

I'll have to think about it some more I guess..

I pray you've liked this slightly different write-up, hopefully somebody on the fence or just interested in Horizon Wars might find this helpfull.

I have a few more stompy robot games planned for the near future, along with another go at Starport Scum, since the rules have been updated slightly.

Til next time! 

Sunday, 12 June 2016

Starport Scum beta testing

Being a huge fan of space opera as well as Nordic Weasel Games, I had to get the beta for one of Ivan's newest rulesets, Starport Scum.

The game is aimed at smaller scale adventures, as few as a handfull of models per side will be enough to get you started.

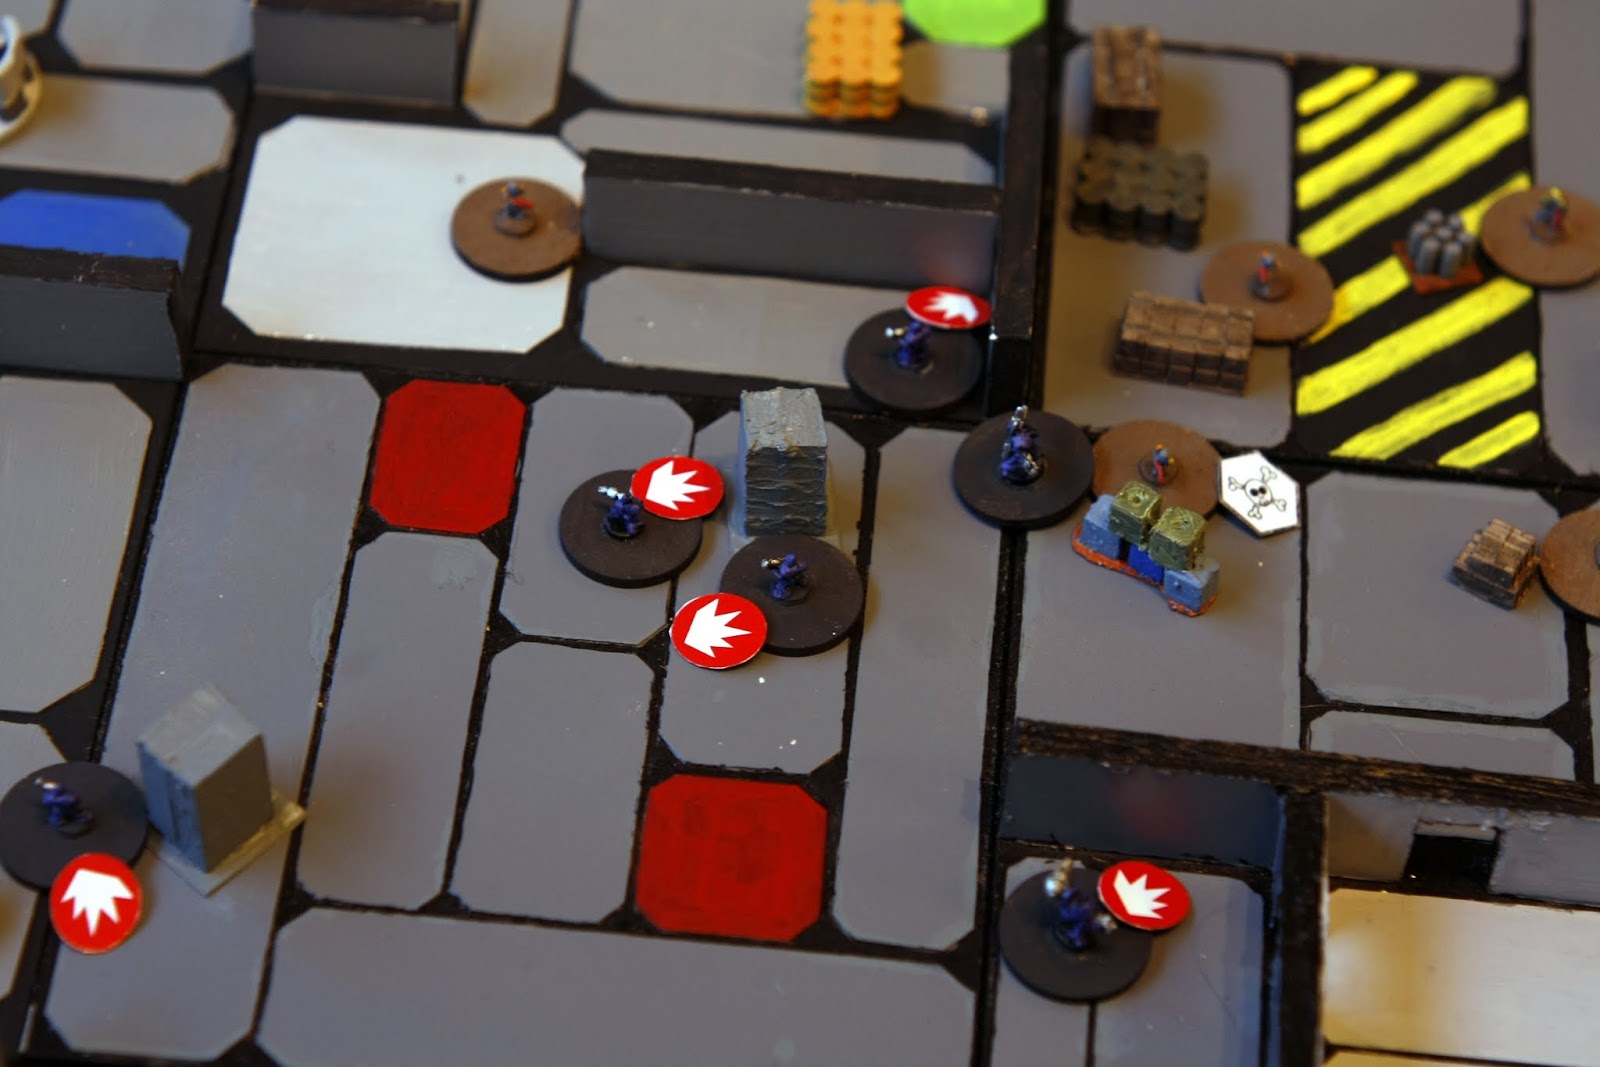
I also started out small, a squad of Unity guards led by a captain was on the trail of some Nomad space pirates that had showed up at the local spaceport with some contraband.


The port, seemingly deserted as the authorities had issued a varning to the civilian population.

The Unity guard, led by the captain.

The unsuspecting pirates, coming back from some bar or another off the port proper.

A unassuming piece of cargo containers, the illicit goods both sides seek.

Opening moves, both sides surge forward. In Starport Scum, each model rolls a number of d6 to determine how far they can move. The most basic of models, called goons, roll 2d6 and choose the highest while characters known as heroes roll 3d6 and choose the highest. Goons can also move as a squad, allowing them to roll 3d6 and choose the middle one, but they have to maintain cohesion.

At the start of the 2nd turn the first firefight breaks out. Both sides manage to pin one opponent, but no casualties so far. When shooting, the attacker rolls 2d6 (for goons) or 3d6+ any bonus (for aces and heroes) and check for any 5s or 6s.
If you roll 1 you pin an enemy, a pinned enemy cannot take any action next turn but will defend itself. If you roll 2 they go down or are wounded if they are heroes. If you manage 3 hits you scatter your opponent all over the place in a grusome way, or if the target is a hero, they go down instead. Certain situations, like cover or armour lets you roll a number of d6s to try to negate 1 or several hits.

 Not long after the first downed result is scored, as a pirate takes a bullet from one of the Unity troopers.

No space adventure would be complete without ways to swing photon swords and the like at eachother, and Starport Scum delivers! Just like in shooting, you roll a number of d6 based on your type, plus any applicable traits and equipment if you are a hero or an ace.

The forceful attack by the pirate bosun knocks the captain back, but he's no worse for wear!

Moving in to secure the shipment, the Unity guards take a shot at the pirates, pinning one of them.
Another all-out firefight breaks out, pinning one member of each side. The captain tries to get back at the bosun but the shot goes wide.

Unity guards have secured the area around the cargo, forcing the pirates to take a morale test at the beginning of every turn. To take a morale test, you roll a d6 and compare it to your fear score. The fear score tallies up casualties and grusome deaths while live leaders deducts from the score. If you roll equal to or below the score, your morale level drops one step. When you drop to the last level, bottled out, your force heads for the hills and the battle is effectivly over. Alien horrors and droids are unaffected by normal morale and have separate morale rules.
The guards loose one of their number as the bosun charges into close combat, braining the poor soldier.

Attempting to wrest control of the objective, the bosun again charges, attacking the captain once more. Knocked sprawling by the heavy blows, the captain is pinned. But as the melee rages, one lone guard manages to pin another pirate..

..Alas, it takes only a few moments before return fire finds it's mark, knocking the guard out!

Things looks grim for the Unity peacekeepers, as the melee continues in the pirates favor..


At last the sirens of the Unity guards backup can be heard. With more soldiers closing in and no way to get their prize out, the pirates decide to fall back. They may have lost the cargo for now, but they fully intend to return for it.

After 8 turns with little indication in favor of either side, I decided to call it a draw, since the Unity managed to keep the cargo out of pirate hands, but took greater losses.

Spaceport Scum has a really inspiring way to handle characters, using a number of descriptive tags that either gives a dice bonus to some roll, or allow you to do something like flying, walking through walls or anything you can imagine really. You can put different conditions and limiters on these tags to further define how they work. non-standard weapons and equipment can be created using a similar system as well.
I've shared a few ideas I had that could work well in this system with Ivan, but overall I'm quite happy with the feel of the game, though I might tweak the pinning in my future games to make it less restrictive.

I hope you've liked this AAR/semi-review. :)

Next up will most likely be more Horizon Wars, as we turn to the battles between the SADU and NTC.

Til next time! 

Wednesday, 8 June 2016

Light mechs and more buildings


I have quite a few mechs, but most of the ones I've painted up so far have been of the heavier variety. The EM-4 mechs that I recently received would make great light P1 mechs for both the USS and the NIJA.

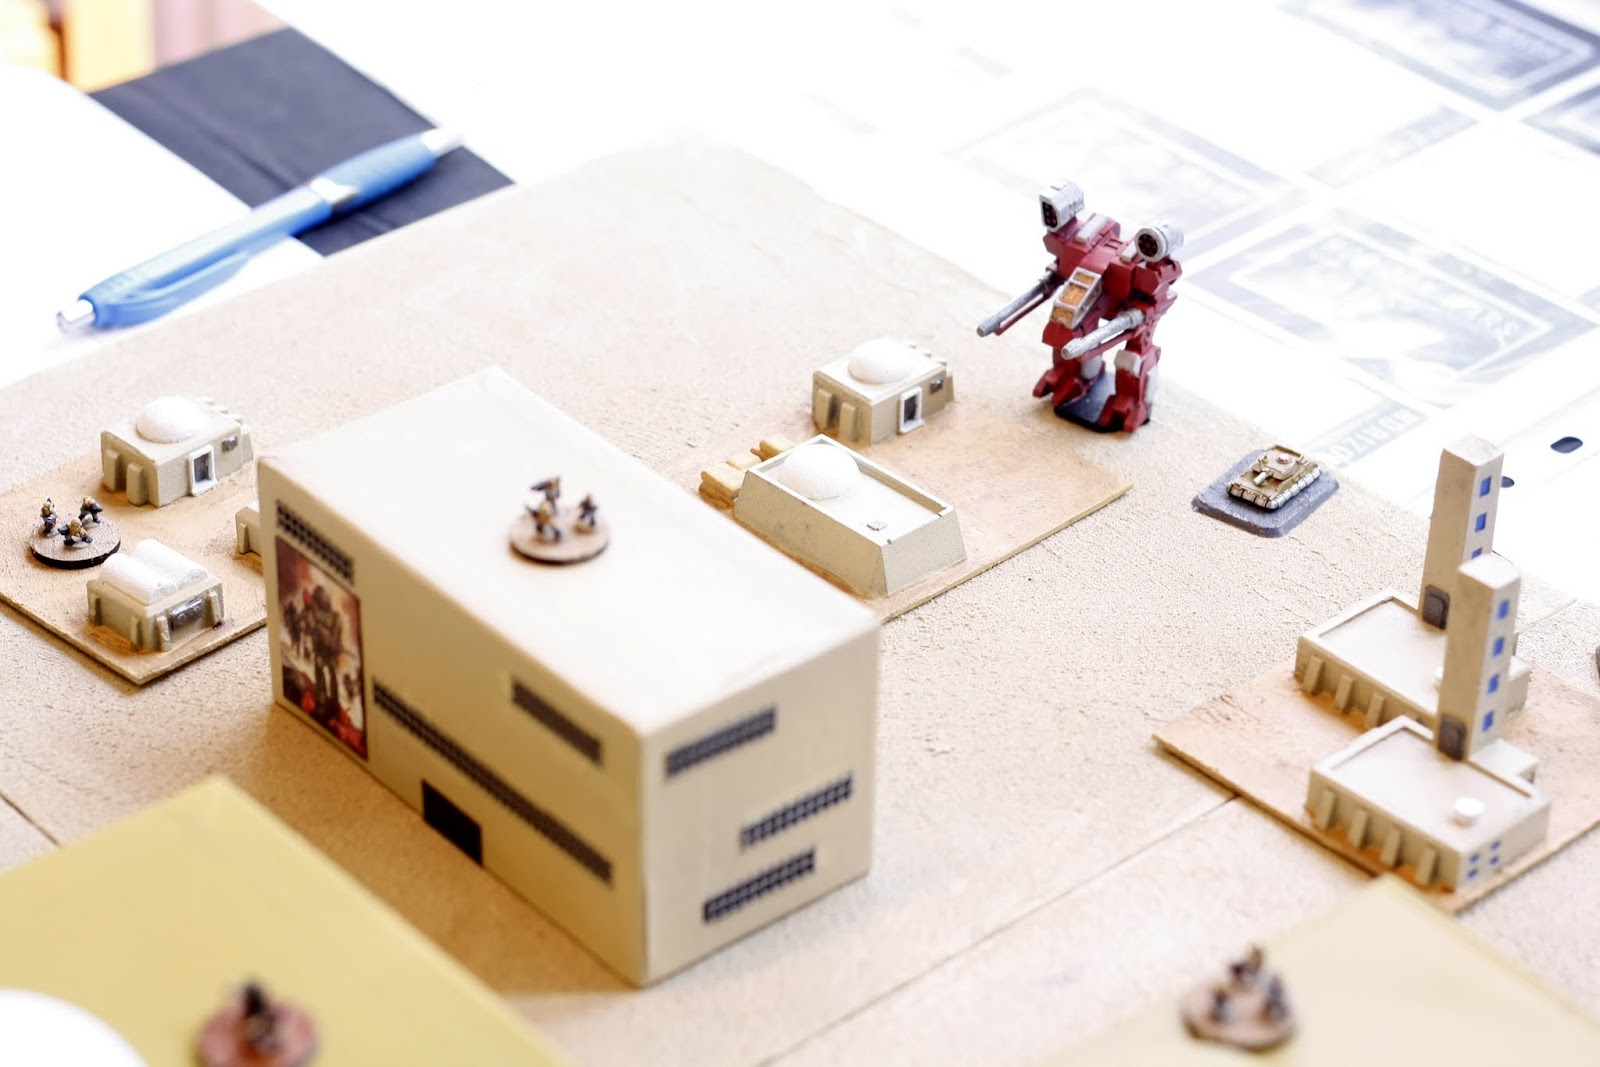
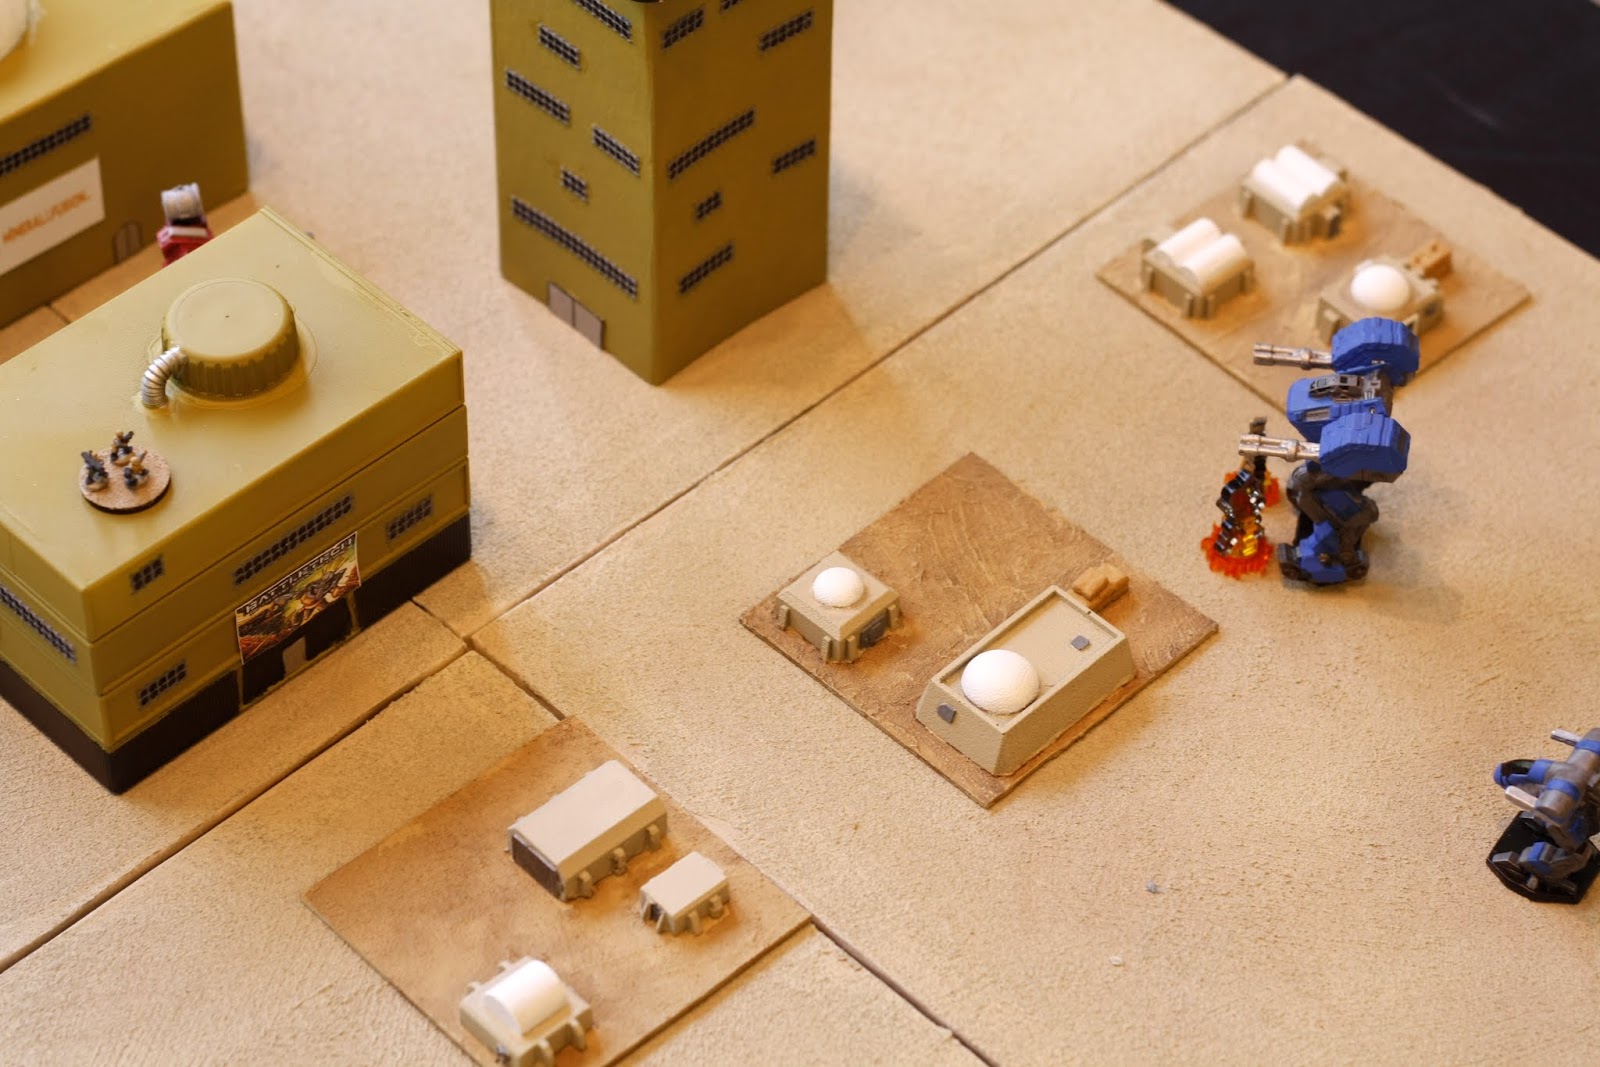
More on that later in this post, but first I have a few new buildings big enough to hide mechs:


The new light mechs, all over the new structures.

There are of course some close-ups of the stompy robots. First we have the NIJA: 


And the USS mechs:


I have a slightly bigger battle in mind for these fresh units, but first I managed to find a perfect diversion in NWG's latest title Starport Scum. I rarely need an excuse for space adventures, so I will be testing out these new rules soon. But don't fear, the stompy robots will definitely see more action in the near future!

Til next time!

Monday, 30 May 2016

Horizon Wars: Intel retrieval


While the NIJA had started their offensive on Churchill III with the partially successful raid on a USS outpost, the USS had not been idle.

Special forces units had been sent into imperial controlled cities and starports, in an attempt to unearth any intel on the troop dispositions and relative strenghts of the imperials on and around the Churchill system.

Most had reported back with little to no success, a few even had to shoot their way out. But now a report had come in from team mike, who had managed to get ahold of some classified reports. Having broken in to a government building turned local Imperial command post in the town of New Cairo, the Mike unit had uncovered intel that might help USS high command.

But they had been discovered.

The call for immediate reinforcement and retrieval of the intel went out as soon as the sitrep came in.
Unfortunately the Imperials maintain air superiority in the region, and any relief will have to come on the ground..

New Cairo

The USS relief-force, along with a light artillery unit not yet on the field, arrives on the outskirts of town.

The special forces unit Mike, trapped in the imperial command post.

The Imperial forces have set up a perimiter outside the building. A local commander arrives just as the would-be rescuers do.

A better picture of the USS units, captured by Imperial recon drones.


 The Imperial commander is not one to sit idle, he charges his mech into the open square and release a deadly hail of shells and rockets.

Bloodied, but still alive, the USS special forces make their way out the back of the building, trying to cut off the line of sight to the enemy.

They can hear the heavy footfalls of the mech making it's way towards them.

The attack helicopter lent to the commander for this operation swoops through the town, hunting the Mike unit.
Behind a skyscraper they finally catch up, and release a withering storm of fire.

The special forces unit is now almost completely unable to retailate due to the damage sustained to their equipment. but they only have to reach their frendlies..
 --But hot on the tail of the chopper is one of the light tanks!

It swings around the other corner, firing it's weapons almost point blank.

The superior training of the special forces is all that saves them. but how long can they endure this sort of punishment?

Realizing the need to block the advance of the enemy mech, the lone USS heavy cavalry charges into the intersection.

Placing round after round into the lumbering machine, the tank manages to deal some significant damage to both locomotion and weapons systems. But it's far from destroyed yet.
With time running out for team Mike, the USS CHQ makes a bold move, advancing into the thick of the enemy, firing at the light cavalry as he goes. As he gets close enough, the special forces unit starts uploading the stolen intel into his battle computer, distributing it into the tactical net of all in-range units.
The light USS mech moves up to support it's commander, adding stabbing beams of coherent light to the attacks. The Imperial light cavalry is starting to look worse for wear as more and more attacks strike home.  

In a bold move, a heavy infantry unit charges the USS tank. Preoccupied with dueling the mech, the crew doesn't see the enemy until the last moment, and that's a bit too late! The explosions of anti-tank charges ravage the cavalry element, taking it out of commission!

 
The start of the 2nd turn.

 In an attempt to protect the infantry long enough to finish the upload, the USS CHQ swings his mech around, and fires on the light cavalry infront of him. The heavy guns at such short range rupures the fusion plant, and the unit is gone in a brilliant implosion.

The second light tank manages to get around the commander despite his efforts. Somehow they manage to miss their target as the mike unit drops to the ground.


The special forces finally run out of luck, as the infantry in the building across picks their prone forms off. The intel transfer is interrupted as the equipment is shot to pieces, but a big part of it's already in the USS tac-net.
With the rescue a failiure and the intel only partially retrieved, the USS starts falling back. 
A red snout shoots out into view as the Imperial CHQ mech peeks out behind the building to take a shot at the retreating commander, but only manages to scratch paint.


Fire from the light artillery brings the last Imperial light tank down, as shells rips it into ever smaller pieces.

With only the severly depleted chopper left to pursue them, the USS forces looks to be in the clear..


..Untill a AT-rocket crosses the distance between the USS command mech and nearby building!
The Imperial heavy infantry took careful aim before letting their weapons fly, and the explosions rocking the mech is severe enough to force the pilot to eject from his mech!
The chopper does a last strafing run against the artillery before disengaging, but does no real damage.

Having fallen back far enough to outdistance any would-be pursuers, the USS fall back to safety.


Things are looking grim indeed for the USS, first a marginal but costly victory defending their outpost and now at least partially failed rescue attempt. The intel they did manage to download from team Mike might just be the sort of thing they need to turn the tables on the NIJA.

But the Imperial high command have plans of their own, and are not likely to sit idly by while their enemy plots..

A good game that turned out nothing like I imagined it would! Initially I was afraid that the SF unit would clear the table unharmed too easily, but as it turns out I maybe I should have let the USS start with the initiative the first round instead of rolling for it. You learn as long as you live I suppose!

I hope you've enjoyed it, I keep coming up with new scenarios at least once a week, so the next fight shouldn't be very far off!

Til next time.