Friday 26 June 2015

The bank heist; A Clash on the Fringe AAR

Ever since I started seeing what other people were doing with the Clash on the Fringe rules, I've wanted to start a small campaign, in the vein of my 15mm Five Parsecs games.

So this is the first of what I hope will be many, an setting of the stage for my intended protagonist if you will.

The fringe, a wast strech of barely terraformed space, a place of fortune-seekers, adventurers and people looking to escape the crowded core worlds.
Churchill 7 is just such a world, a small planetoid in the middle of the fringe belt. A former brittish holding before the formation of Unity, the lumbering behemoth that encompasses all of human space. Outside of a few mineral deposits and crude oil, Churchill 7 holds little of value, with only handfull of companies fighting over oil and mineral rights. 

This early morning the local Unity peacekeeping force have gotten wind of a scheme to rob the local branch of the Unity bank, located in a small settlement on the rim of the wast desert sea of the planetoid.   

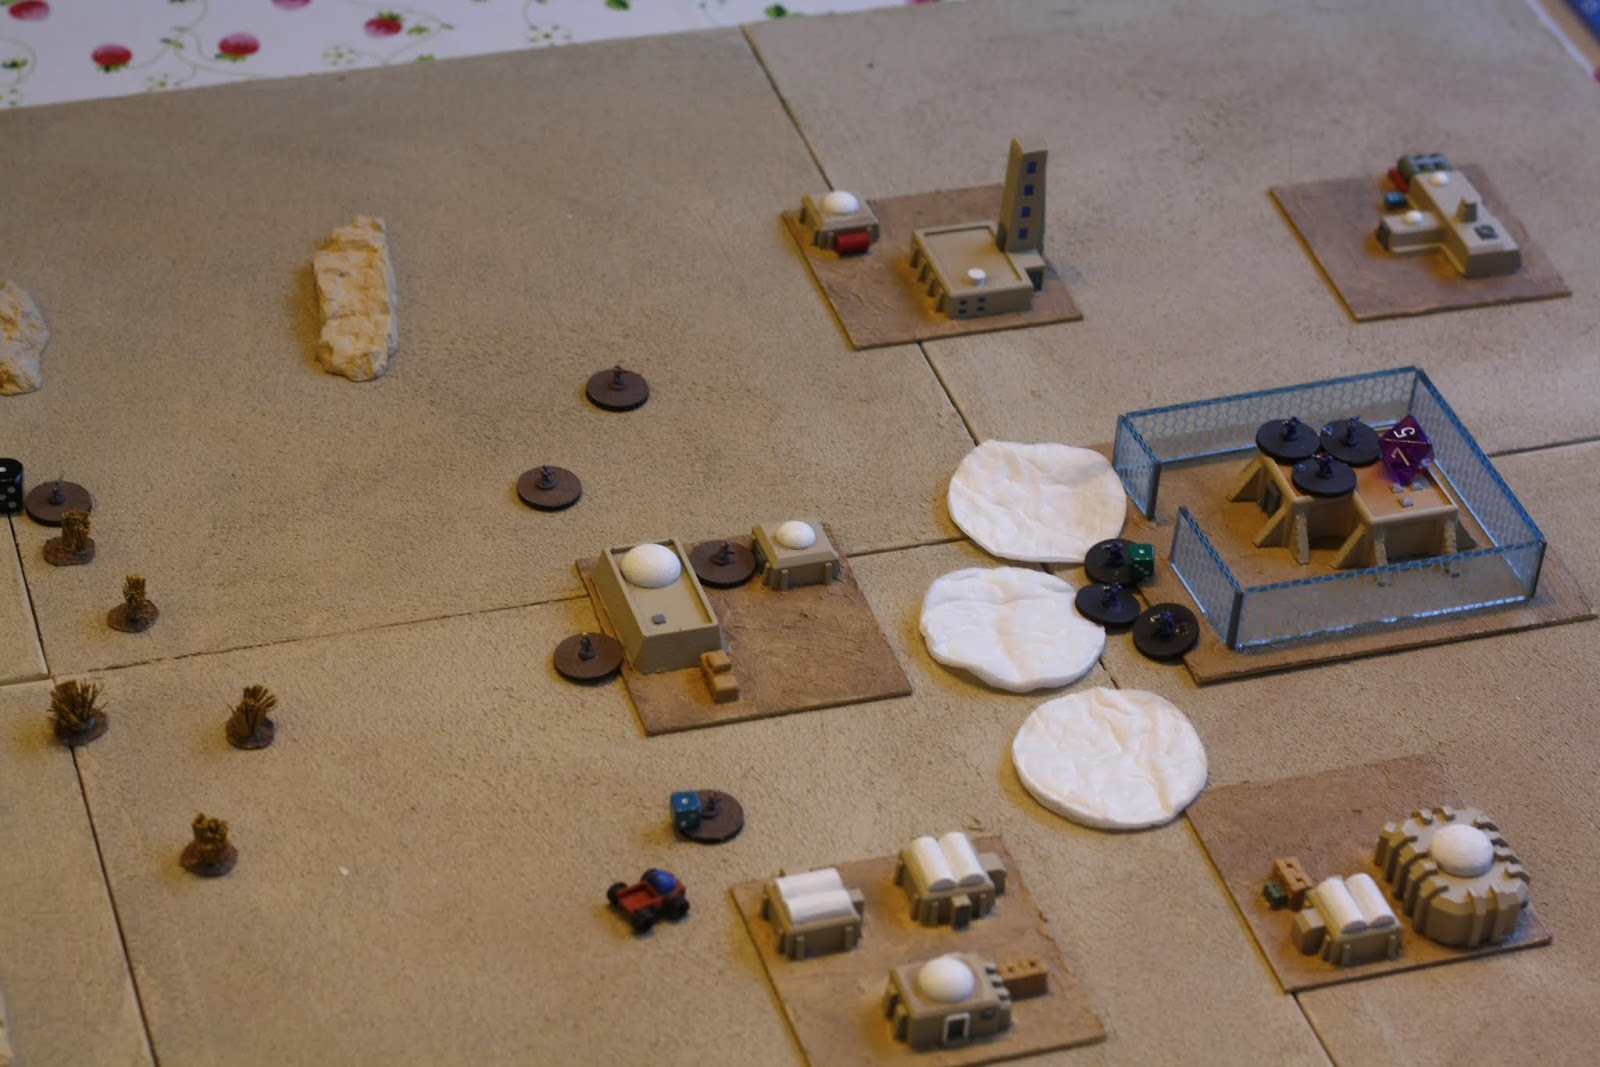
The settlement, soon to be a bloody battlefield.

The local bank, protected from the local wildlife by a Nielson force fence. 

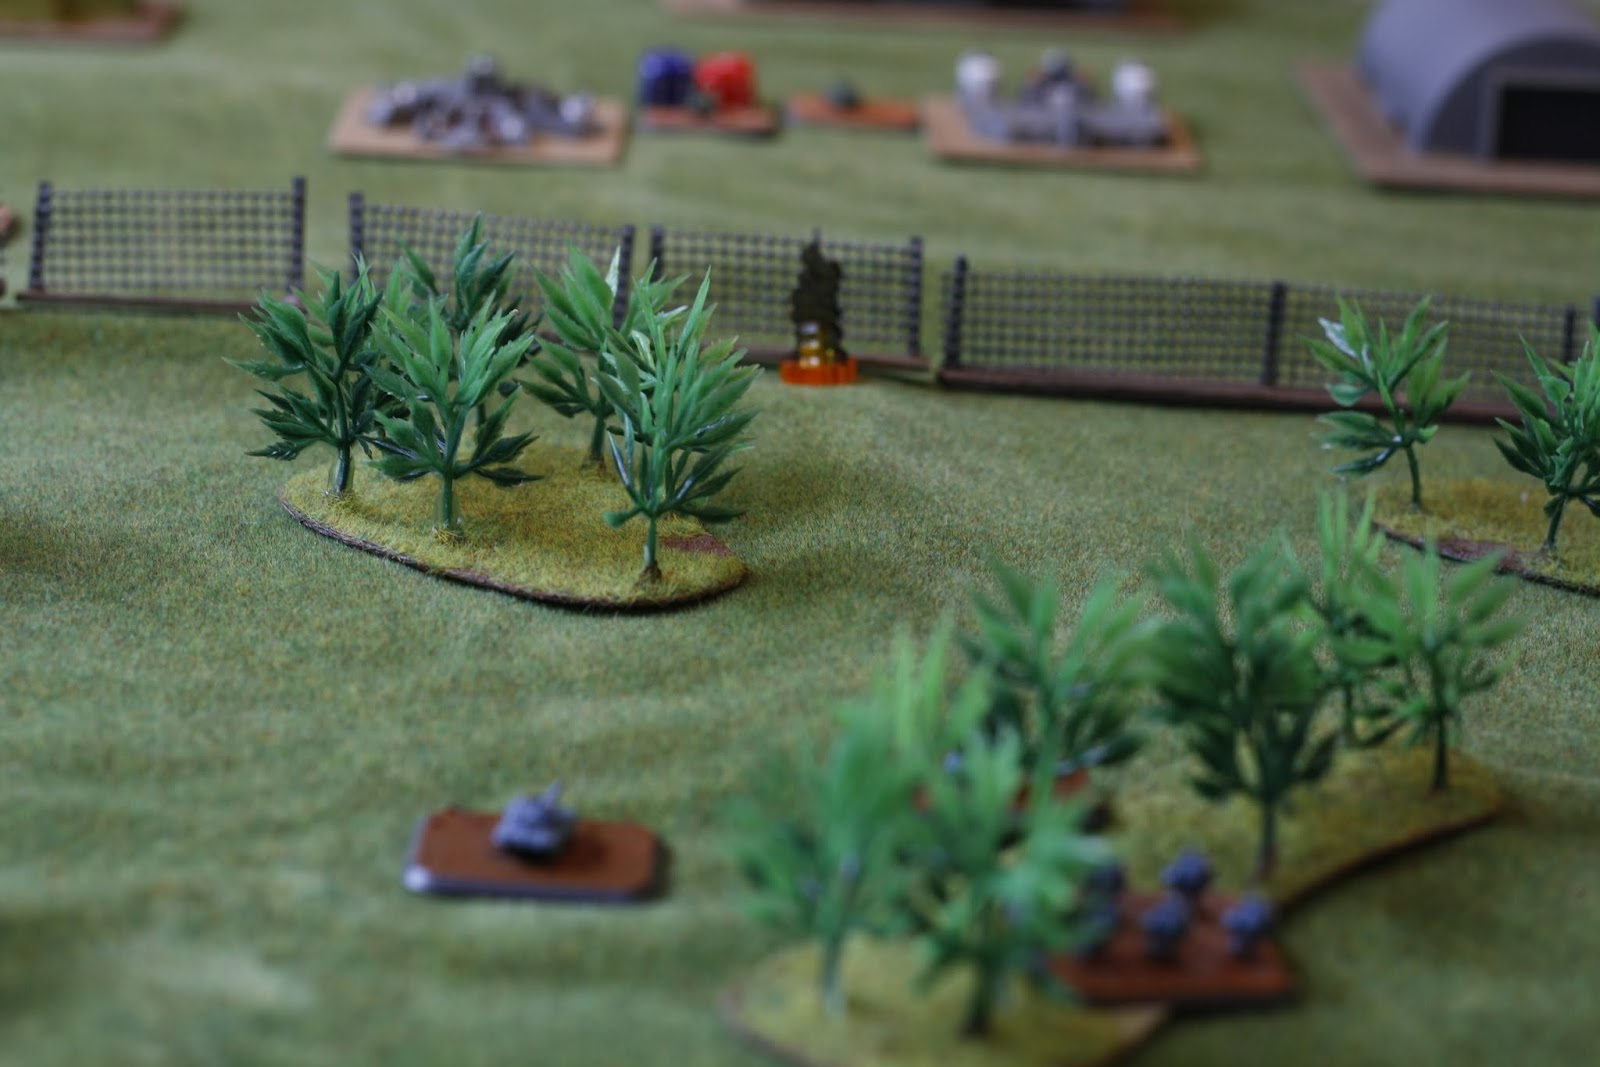
A raiding party of the nomadic space pirates show up from the north.

"They must be the ones sarge" exclaims one of the Unity marines as they reach the southern part of the settlement. 

Both sides advance towards the bank, but with wholly different motives.


Start of turn 2.

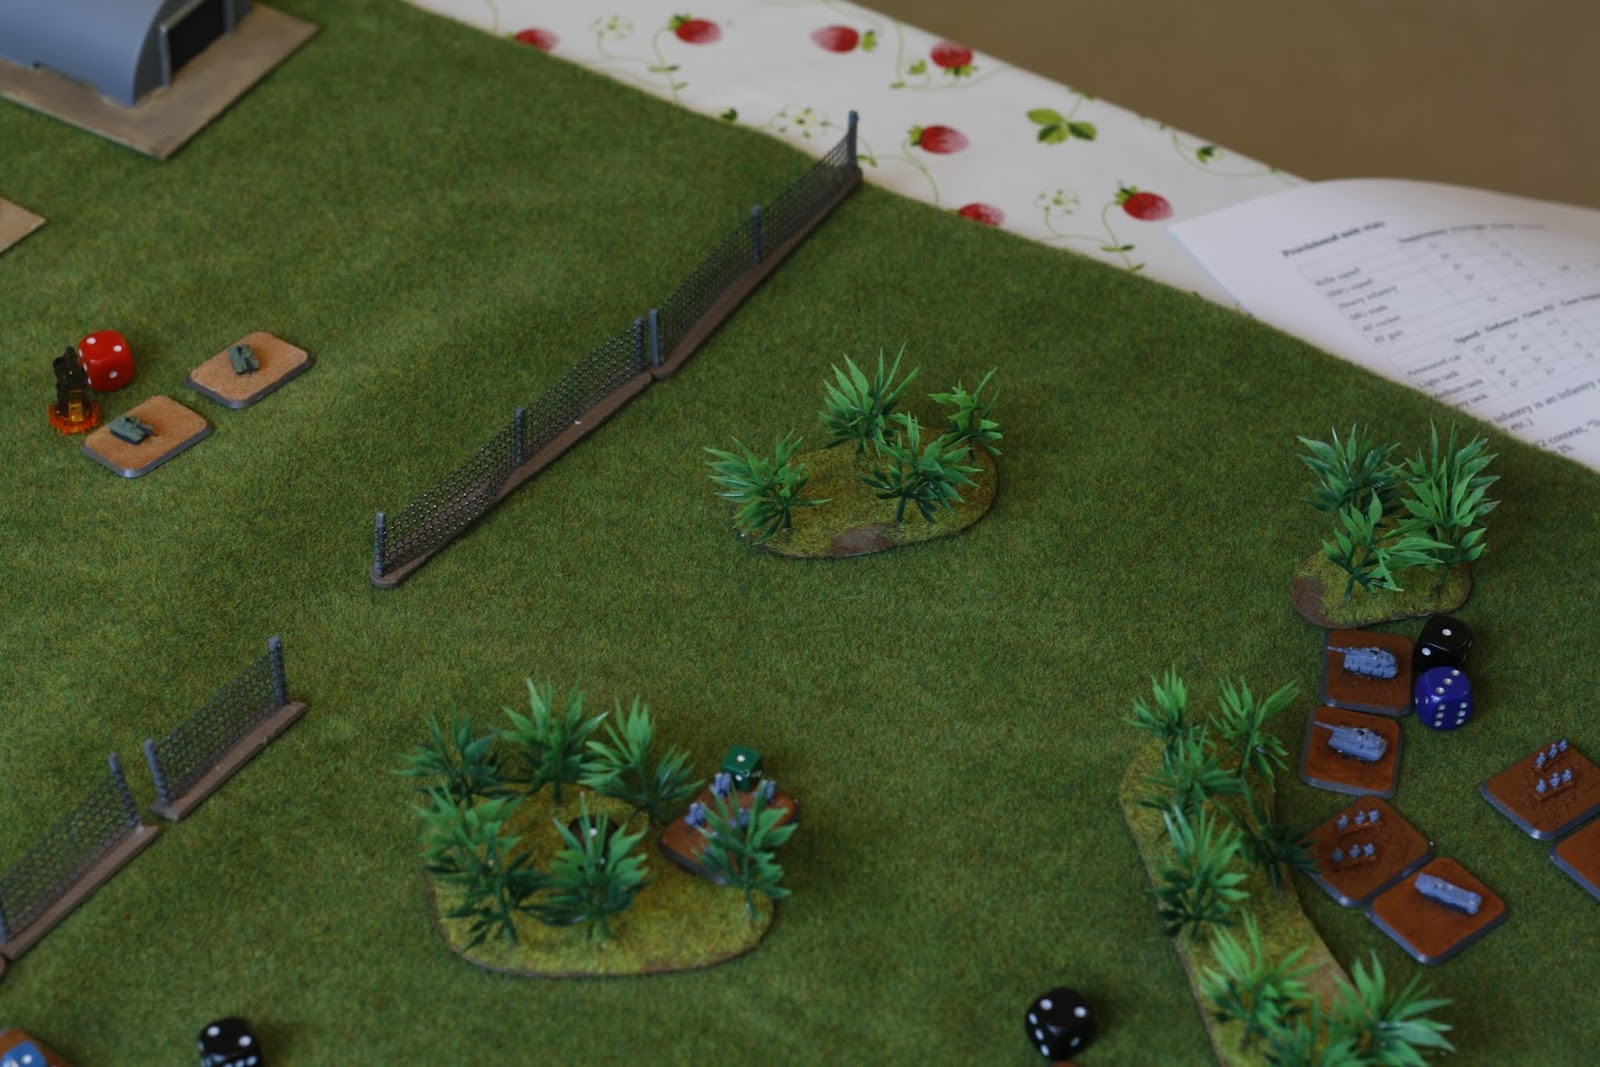
Rushing forward, the pirates open fire on the marines..

The sergeant of the green squad takes the brunt of the fire, but his armor keeps him alive, even if a bit knocked around.

White squad moves up, but the pirates are ready for them! Shots fly left and right.

2 of the pirate goes down, out of the fight and one is heads down..

.. But the unlucky pointman of the white marine squad takes a few hits too, knocking him out of the fight as well!

A bit more wary, the remaining pirates drop a few smoke grenades, oscuring their path to the bank and protecting them from enemy fire.

The start of the 3rd turn.

Green squad pushes up towards the bank, firing as they go. 2 pirates are forced to go heads down from the incoming fire, as is one of their own, caught in the open!

Making a run for it, some of the pirates make it into the bank. Their comrade keeps a lookout from behind the forcefield.

More shots come flying at the exposed marine, further compromising his situation.

 Taking a hint from the rest of the crew, more smoke is dropped, and another firefight enues between pirates and the green squad.

Finally, a bullet finds its mark, and the lone marine goes down.

The marines isn't going to let the pirates escape unscathed though, and the leader of the second pirate squad is taken out.

Start of the 4th turn. One smoke cloud scatters to the wind while another drifts a few feet.

Suddenly, the low rumbling of an engine can be heard. A bullfrog pickup shows up at the edge of the settlement. What is it doing here?

The Unity marines barely have time to notice the pickup before it's speeding past them, heading for the bank.

Some of the pirates are looting precious minerals, while the rest puts down covering fire. 2 more marines fall, but one pirate is forced heads down as well.

Unity are closing the net on the pirate, soon they'll be boxed in!

Unable to shoot due to the smoke, one brave trooper charges into the smoke, intent on bringing the pirate low. He quickly realizes his mistake, but the heavily armored pirate knocks him out before he can turn around!

Beginning of the 5th turn.

As they see the pickup move closer, one group of pirate move out to intercept it. As it turns out, it's their getaway driver.. 2 of them engage the marine sergeant while the last one deposits his minerals in the bed of the truck.
As the smoke drifts to the side, one of the marines have a clear shot into the bank. Rather than giving the pirates the benefit of the good cover inside the building however, the tosses a grenade.. 

..It sails through the doors, bounces a few times, and then goes off. The shrapnel and debris make it hard to see anything, but the screams of the pirates as all but one of them gets turned into pincushions confirms the sucesssful attack. 

 Runing to the rescue of the sergeant, a marine takes a face-full of gel-rounds from one of the pirates.
The sergeant doesn't seem to need rescuing however, holding his own against the 2 pirates.

The pickup drives the last yards up to the bank, parking outside. Catching on to what he's up to, a Unity marine shoots at the vehicle to try and stop it. It starts burning as a external fueltank is hit.

Having exposed himself to throw the grenade, the Unity marine goes down as a pirate guns him down.

The pirates in melee with the green sergeant fares little better, as one of them is knocked out in the scuffle. But as you can see on the far right, the last surviving pirate from the bank manages to load up some more minerals into the burning pickup.

Start of the 7th and last turn.

All loaded up, the pickup speeds off with the loot, and the pirates start falling back, mission accomplished. Another marine goes down when he is hit by the parting shots from one of the pirates.

The pirates made it off with no less than 4 bundles of precious minerals, making it well worth their losses!

But the story isn't over just yet, later that same day:

After recovering, the Unity sergeants and the last unscathed marine have called for assistance from a former Unity ranger, known around these parts as Clarke.
"What's the job?" he asked the sergeant.
"The Unity bank behind us just got robbed, we need you to track down the criminals and bring back the minerals they stole." "We would pursue them ourselves, but we have too few men not laying in the medbay." he added, rather sheepishly.
"I'll take the job, my standard fee plus you pay any additional expenses."
And with that he turned away from the small group and started walking towards his parked vehicle, a plan already formin in his mind..

This is the start of a new adventure! 


Also, this is my 100th post on this blog!

Little over a year ago, when I started this blog, it was mostly to keep motivating myself to paint more, something that it has surely done!
I want to take this opportunity to thank everybody that has shown an interest in my projects, you have motivated me to keep going more than you know!

I have some more stuff to share with you soon, as I'm currently planning the builds necessary for the 1st real episode of Clarke's adventures on the fringe..

Til next time! 

Tuesday 23 June 2015

Jungle raid; A micro armor playtesting AAR

The last session had uncovered some potential issues, so I set up another scenario to test out some tweaks to the activation and firing mechanics.

Some background:

Having lost the site in the desert to the Solar Bloc, CSA's commanders decided that they would need to strike back at the Bloc somewhere else. Somewhere they'd never expect an attack.

Around the equator of the planet there is lots of mineral wealth to be gotten, if you can keep contol of the mines that is.
This small Bloc outpost protects one of the smaller, but still quite lucrative diamond mines in the equatorial area and would form a good beachhead from which the CSA could take control of most of the mineral mining operations on the planet. This is where they chose to strike.


What was to become the battlefield.

 The Solar Bloc military outpost, about a companys worth of troops are said to be stationed here, along with some armored support.

The CSA forces comes through the jungle to the south.

The lone commander of the outpost spots the invaders, and sounds the alarm!

Before long two platoons of riflemen come running out of the barracks..

..Followed by the first tanks.

Realizing that they need to break through, one squad of Chevalier tanks blow up a section of the fence protecting the base.

 As the first PA unit nears the fence, they are suddenly in a firefight with the Bloc infantry. The heavy fire forces them to go heads down, seeking cover by the fence.

 More Bloc tanks rolls out of the motor pool.

 Another firefight erupts, an while the infantry is supressed..

 .. The PA unit is taken out of action!

 Pushing up to the fence, the heavy infantry of the CSA engage their Bloc counterpart, destroying one platoon of the enemy.

 The T-22's finally manages to draw a bead on the lead Chevaliers.

 The first tank kill goes to the Solar Bloc!


 More infantry swarms out of the barracks. Incoming fire supresses the CSA infantry.

 Another platoon of infantry pushes to the front of the battle across the fence.


 The rest of the CSA unit joins the fight, but they are ultimately supressed as well.

When they advance around a copse of trees, the apcs end up in the T-22's sights. A short exchange of fire later, one of the apcs is a burning wreck.

 Seeking cover amongst the trees, the PA unit is supressed thanks to the heavy fire from the T-22's barreling down on them.

 The T-22's are quickly made targets themselves, when the next unit of Chevaliers swing out from behind some trees and blasts one of them apart.

Slowly being worn down, one of the CSA platoons finally fall to the onslaught of the Bloc assault.

Having been saved from a fiery death, the PA unit moves through the gap in the fence, only to be supressed yet again by T-22 firing on them. Their Chevalier escort isn't far behind, and they score another kill as the turret of a T-22 is turned to molten slag by a hardbeam.

The unfortunate tank.

 Now slightly more exposed, the Chevaliers are forced into multiple duels, but all participants come out more or less unharmed.

The last platoon by the western side of the fence pushes hard, determined to make their comrades earlier sacrifice mean something. In the ensuing firefights, they first destroy one platoon..

..Then, minutes later, the second one disintergates as well! 

 The state of the battle by the start of the 2nd turn.

Having adjusted their aim, the T-22's shots find their mark this time, blowing up one of the Chevalier tanks.

 Moving ever forward, the PA unit goes to work taking out the AA site in the middle of the base. If they can destroy it, air support can be called in to mop up any remaining enemies. 3 out of the 4 cannons are taken out, only one remains..

More fire is traded, and this time it's the CSA that fall back.

The lone Chevalier engages it's opponents, but seem to have sustained some damage to it's targeting computer, he just can't seem to hit.. Lucky for him, his opponents fare little better.

 Realising what the PA unit is up to, the 2 plattons furthest from the fence turn about to engage them before they can take out the last AA-cannon. 

The PA unit fights valiantly, but is ultimately doomed. 

Having been trapped behind the slowly advancing tanks, the 2nd unit of heavy infantry is finally approaching the fence.

On the western side a final firefight breaks out between the rivals, and the Solar Bloc infantry is destroyed.

With the PA out of comission, the mechanized infantry steps up. They need to reach the last cannon of the AA-emplacement. T-22's block their path, but a shower of anti-tank missiles make short work of them!

Rushing to intercept is the Bloc infantry platoons.

Firefights erupt, taking out one CSA platoon, but also supressing two bloc platoons..

..And the subsequent fight knocks out a Bloc infantry platoon as well.

Another section of the fence comes apart when heavy fire is directed onto it, clearing a line of fire for the Chevaliers.

The Chevaliers fire on the exposed cannon, and a stationary target is no match for the heavy firepower they bring. With the air defences down, and the few remaining Bloc troops supressed and exhausted, they wisely surrender.  

The burning AA-emplacement, shot from a low-flying CAS aircraft.


A CSA victory!

Originally I had intended for the CSA's objective to be the destruction of the AA-emplacement, so they could call in air support. 
As it turned out, they managed to take the enemy base anyhow, though they suffered heavy infantry losses.
They tweaks I made ended up making this game session more thrilling, so I'll suggest they stay.

There is still much to be done, but the basics are solid, and the rest is mostly trimmings!

Here are the new terrain pieces I made for this game as well, along with one that didn't feature:


The barracks, made from a few on the smaller monopoly houses I got from Pico Armor.

The Motor pool, a vehicle garage big enough to fit a few squadrons, along with maintenence bays and repair.

The Hangar. Even if I didn't have any air units on account of the lack of rules governing them ATM, I felt that I needed a hangar since I had a landing pad..

This last piece is a bunker/sealed complex, something that might be found in a very hostile environment.

Some of my CSA units posing to show off scale.

I have a Clash on the Fringe AAR for you, hopefully I'll post it later this week, along with a few more infantry units and maybe the beginnings of another 6mm warband, we'll just have to see what I end up working on!

Til next time!